Whether you buy cannabis commercially or grow your own at home, you’ll probably want to make the most of every scrap at your disposal. You’ve paid good money for your weed, so it simply makes sense to…
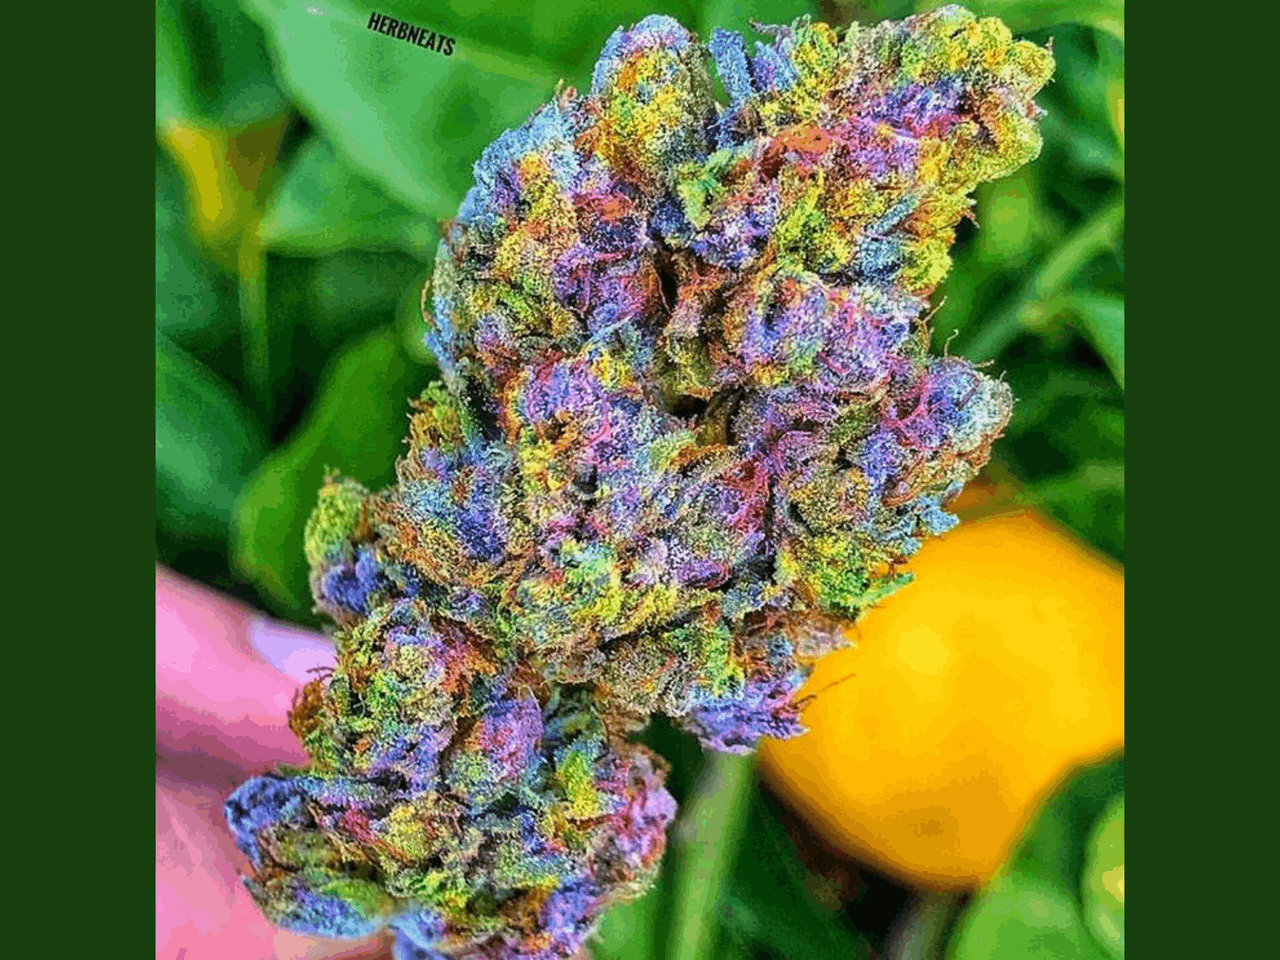
Rainbow Kush takes its name from the beautiful colours it produces and the plant matures. Often referred to simply as Rainbow, it’s a fantastically-balanced 50/50 hybrid that’s perfect for all occasions…
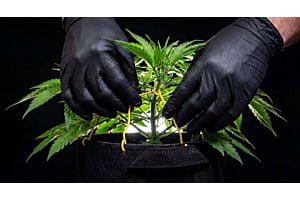
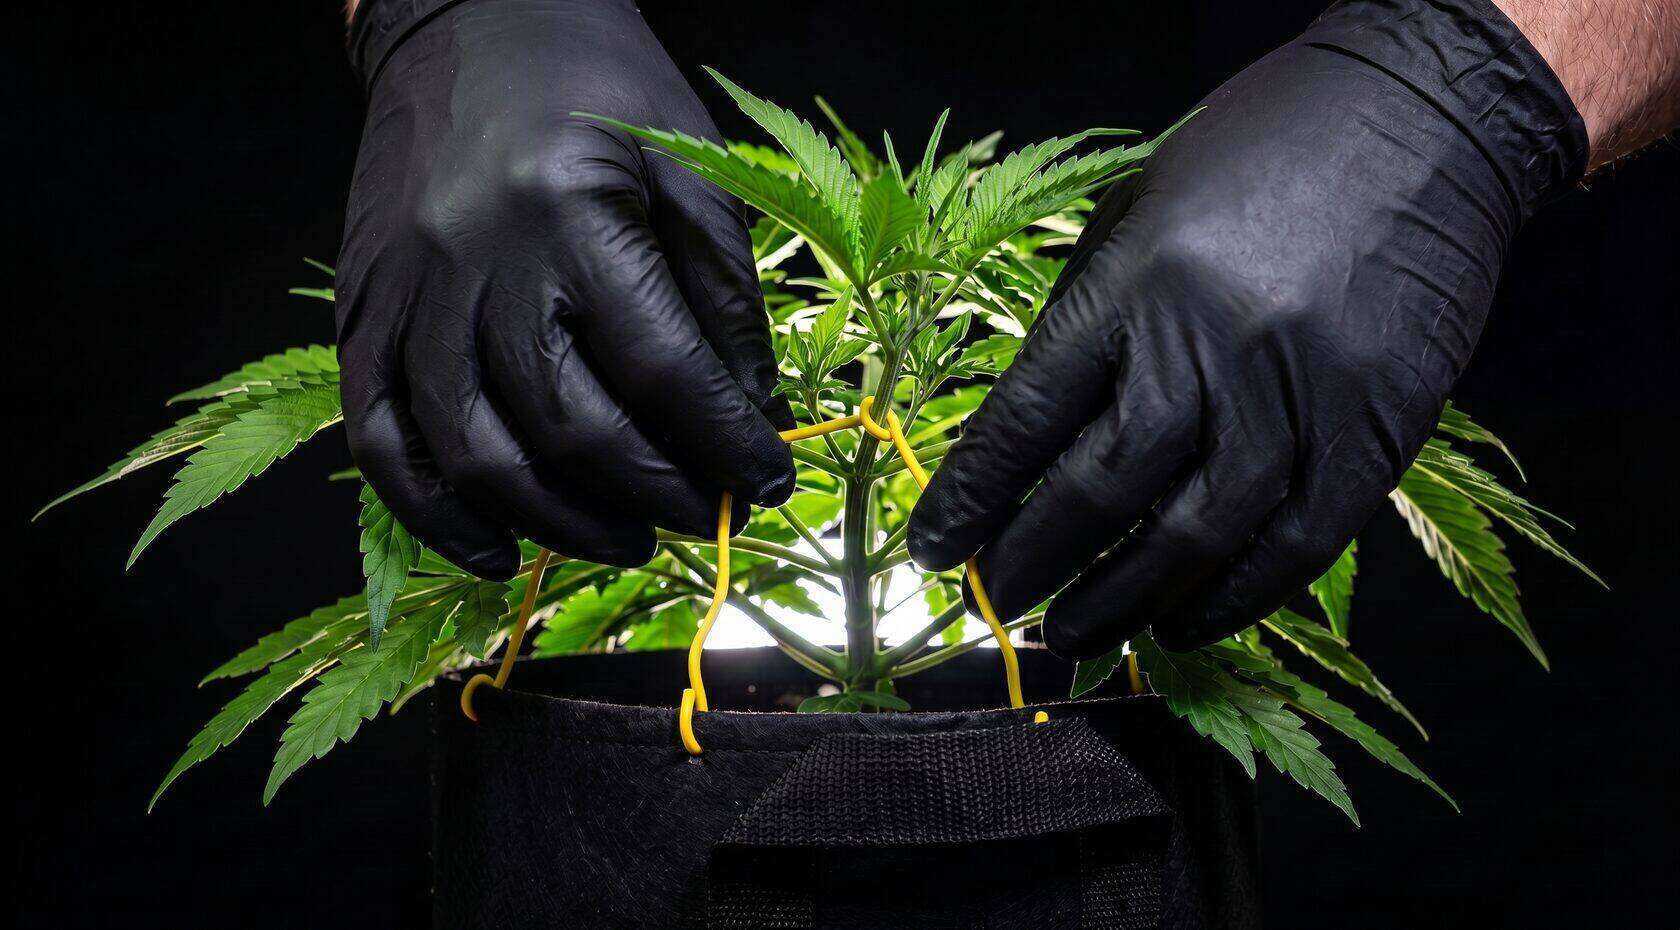
Is your grow op facing time or space constraints? You can LST autoflower plants to get photoperiod-tier yields while honoring the restrictions.
Low-stress training is an easy and effective way to increase…
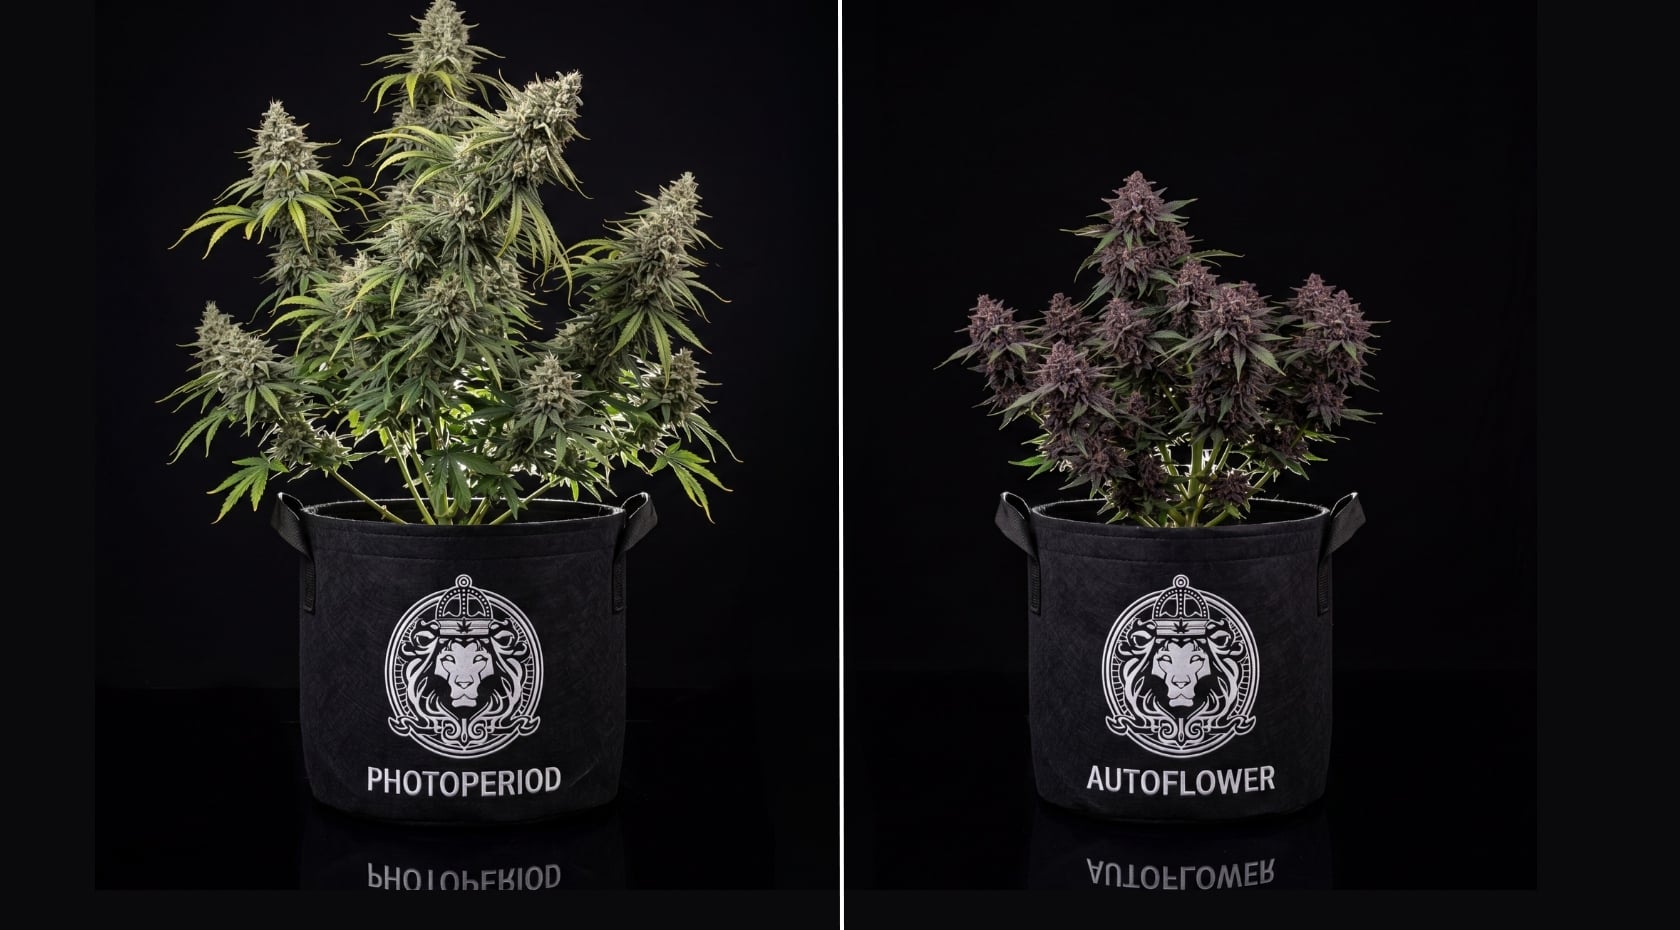
Photoperiod cannabis seeds grow into plants that flower in response to changes in light cycle. They are the classic seed type behind most cannabis cultivation, and they give growers direct control over…
Are you interested in growing cannabis or harvesting and finding unwanted seeds in your buds? Understanding male vs. female weed plants is essential in cultivating marijuana.
Learning to spot the differences…
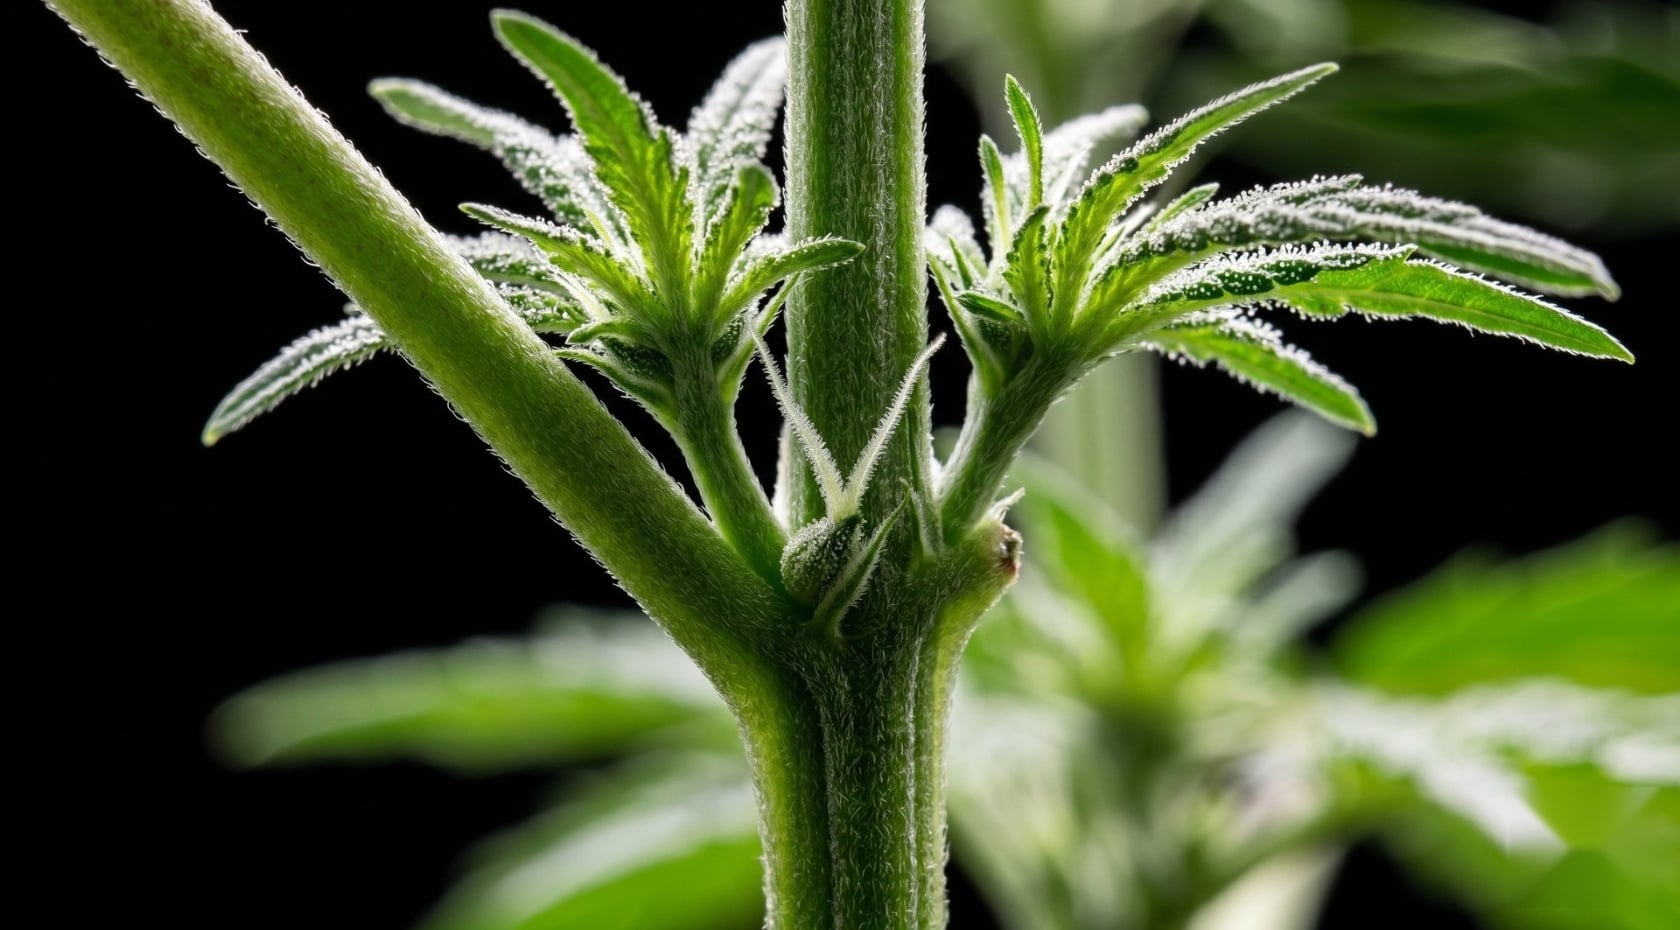
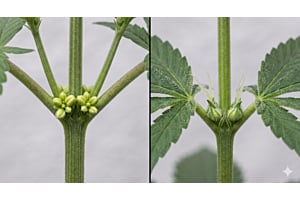
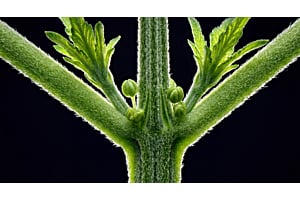
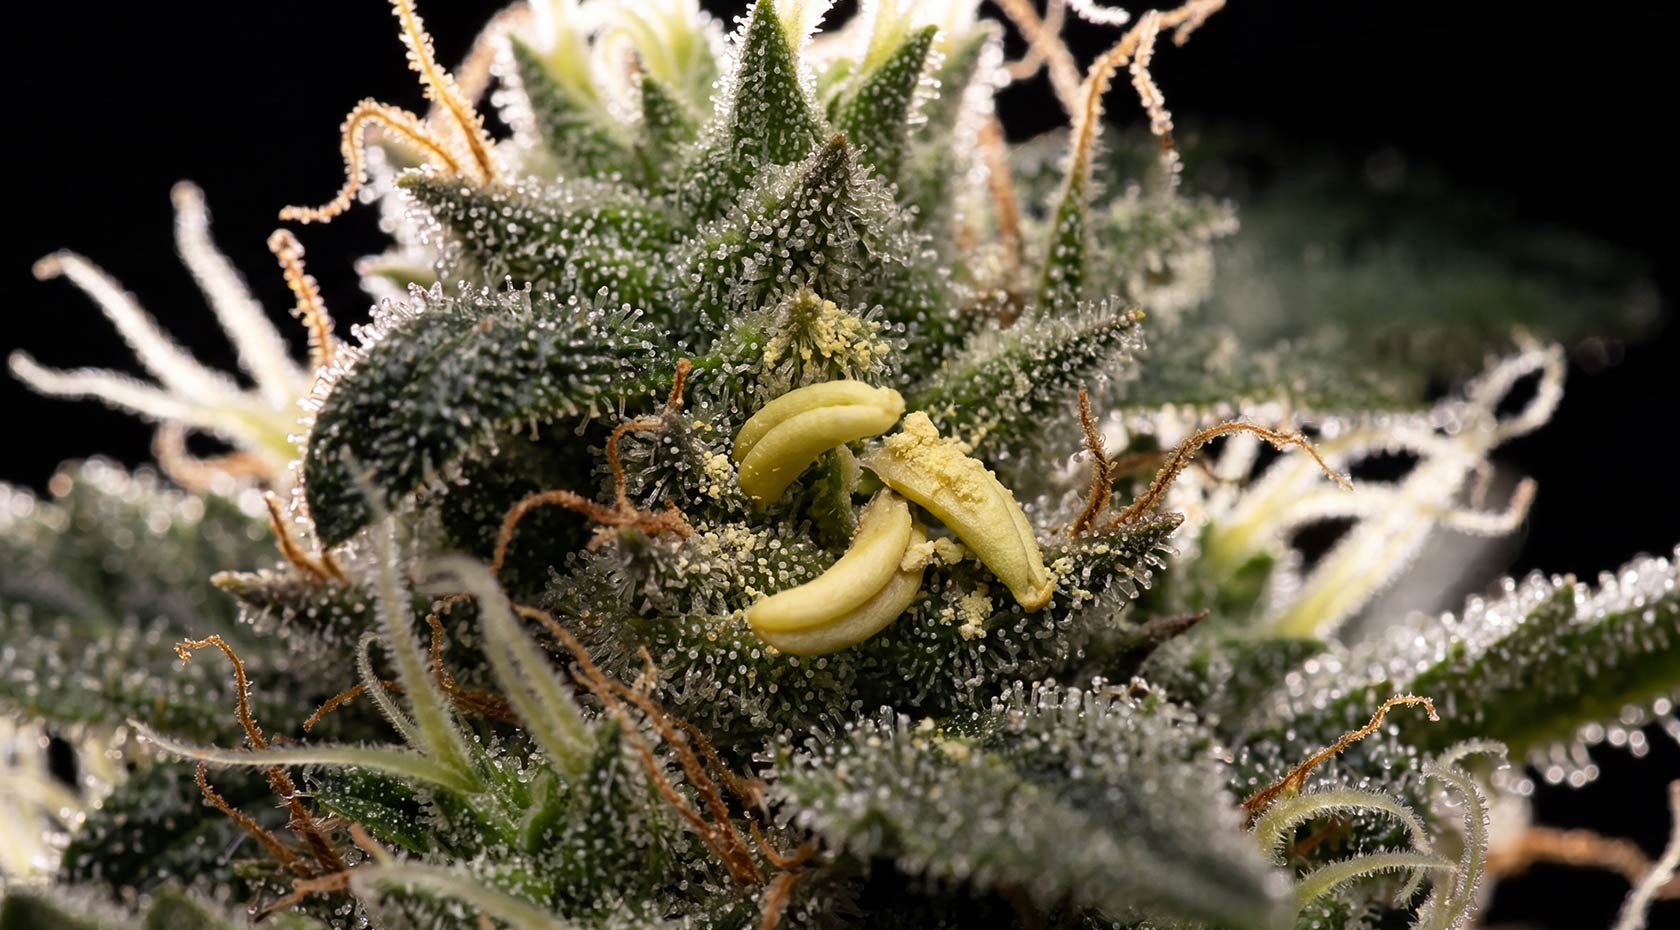
A hermie plant shows male pollen sacs or banana-shaped stamens on a plant that is otherwise growing female buds. Catching those signs early protects the rest of your crop, because one hermie can pollinate…
One male cannabis plant left undetected can turn an entire crop into seeded, low-yield buds. The early signs of a male plant appear before pollen drops, at the nodes during the pre-flower stage. You don't…
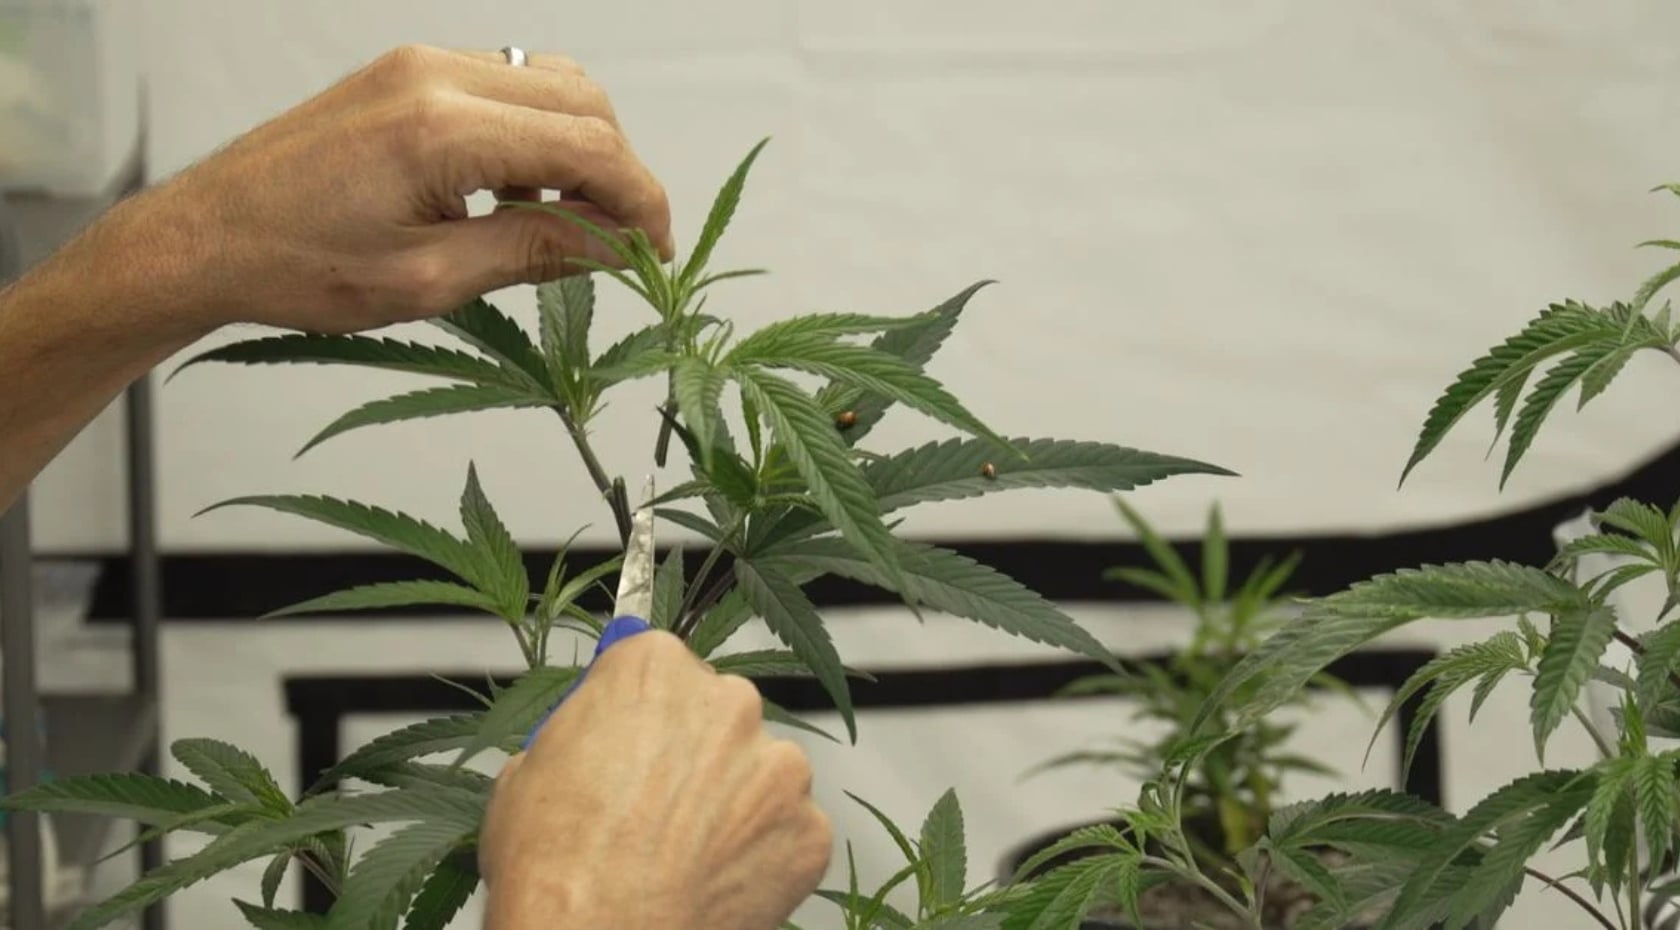
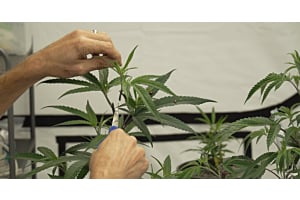
Topping a cannabis plant means cutting off the main growing tip so one stem splits into two. The cut redirects growth outward, which builds a wider plant with more main colas instead of one tall central…
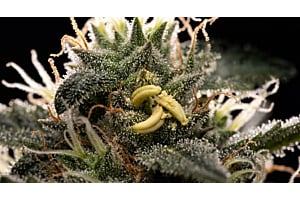
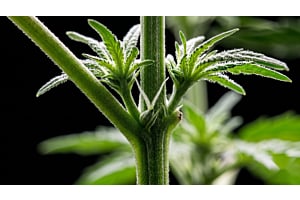
If you're growing for buds, knowing the early signs of a female plant gives you the control you need to protect your harvest. Female cannabis plants produce the dense, resin-rich flower you're growing…
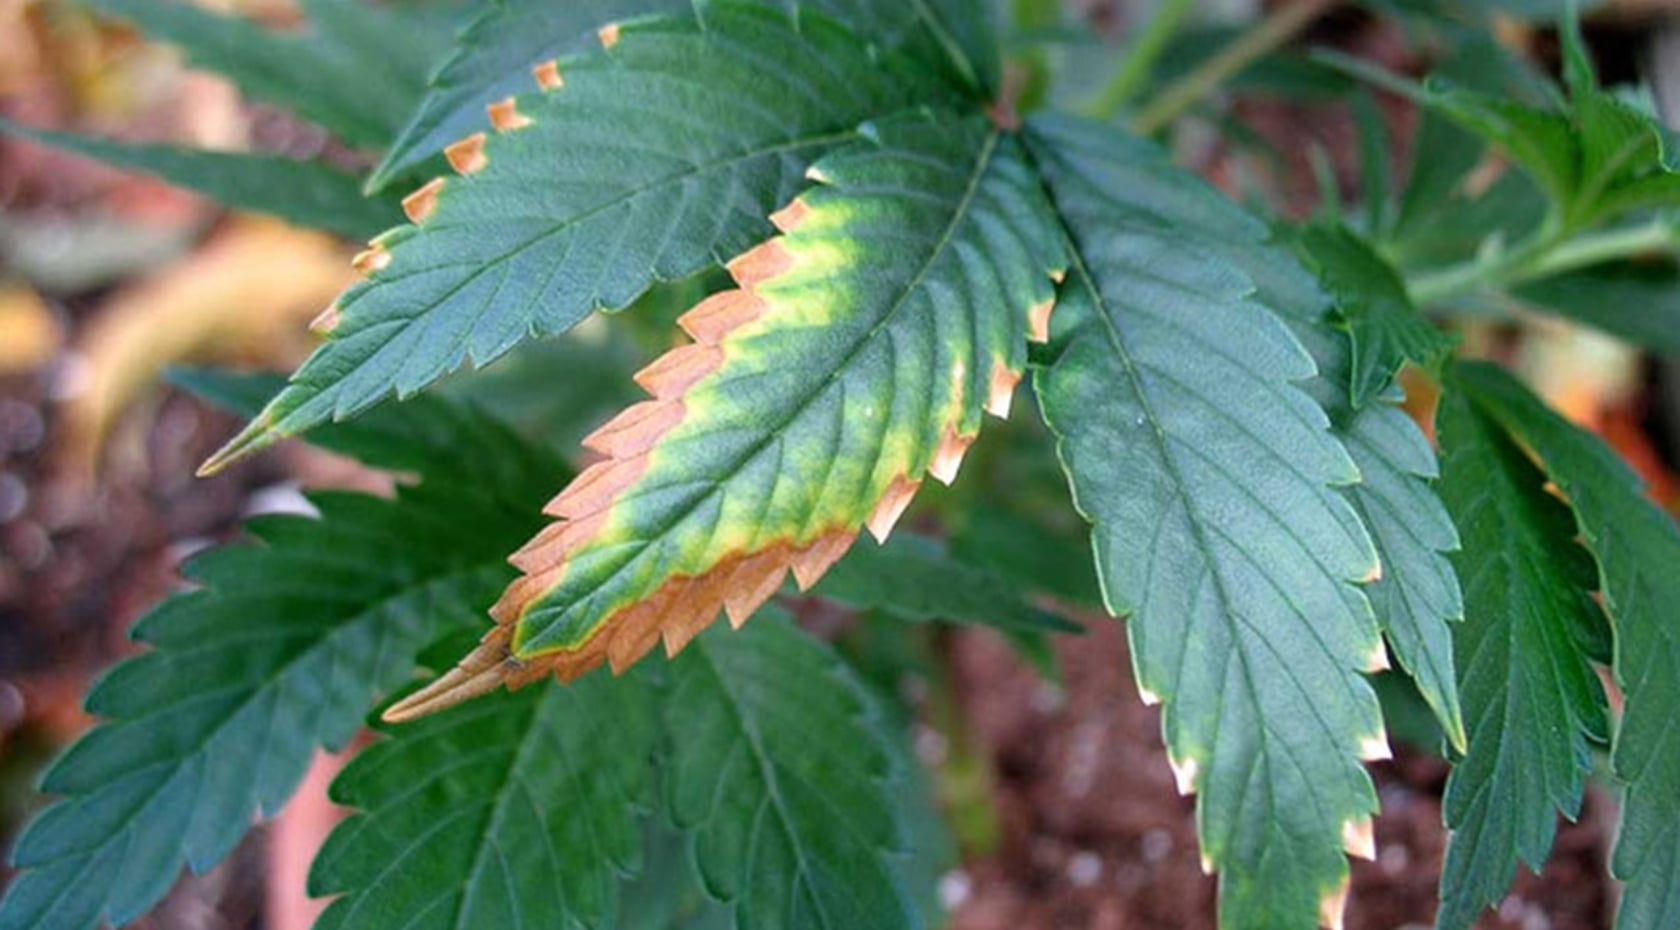
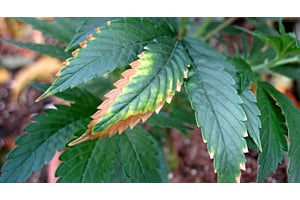
Cannabis deficiencies show up first as color and texture changes on the leaves, and the leaf's location on the plant tells you which nutrient is short. This guide gives you a symptom chart, a mobile-versus-immobile…
Autoflowers go from seed to harvest in about 8 to 12 weeks, which is why growing autoflowers is the default starting point for so many first-time growers. The plants stay small, flower on their own timetable…
Are you looking for the best fertilizer for outdoor marijuana plants? Top-quality nutrients nourish your crops and ensure a healthy life span.
Figuring out the mineral requirements can be somewhat overwhelming…
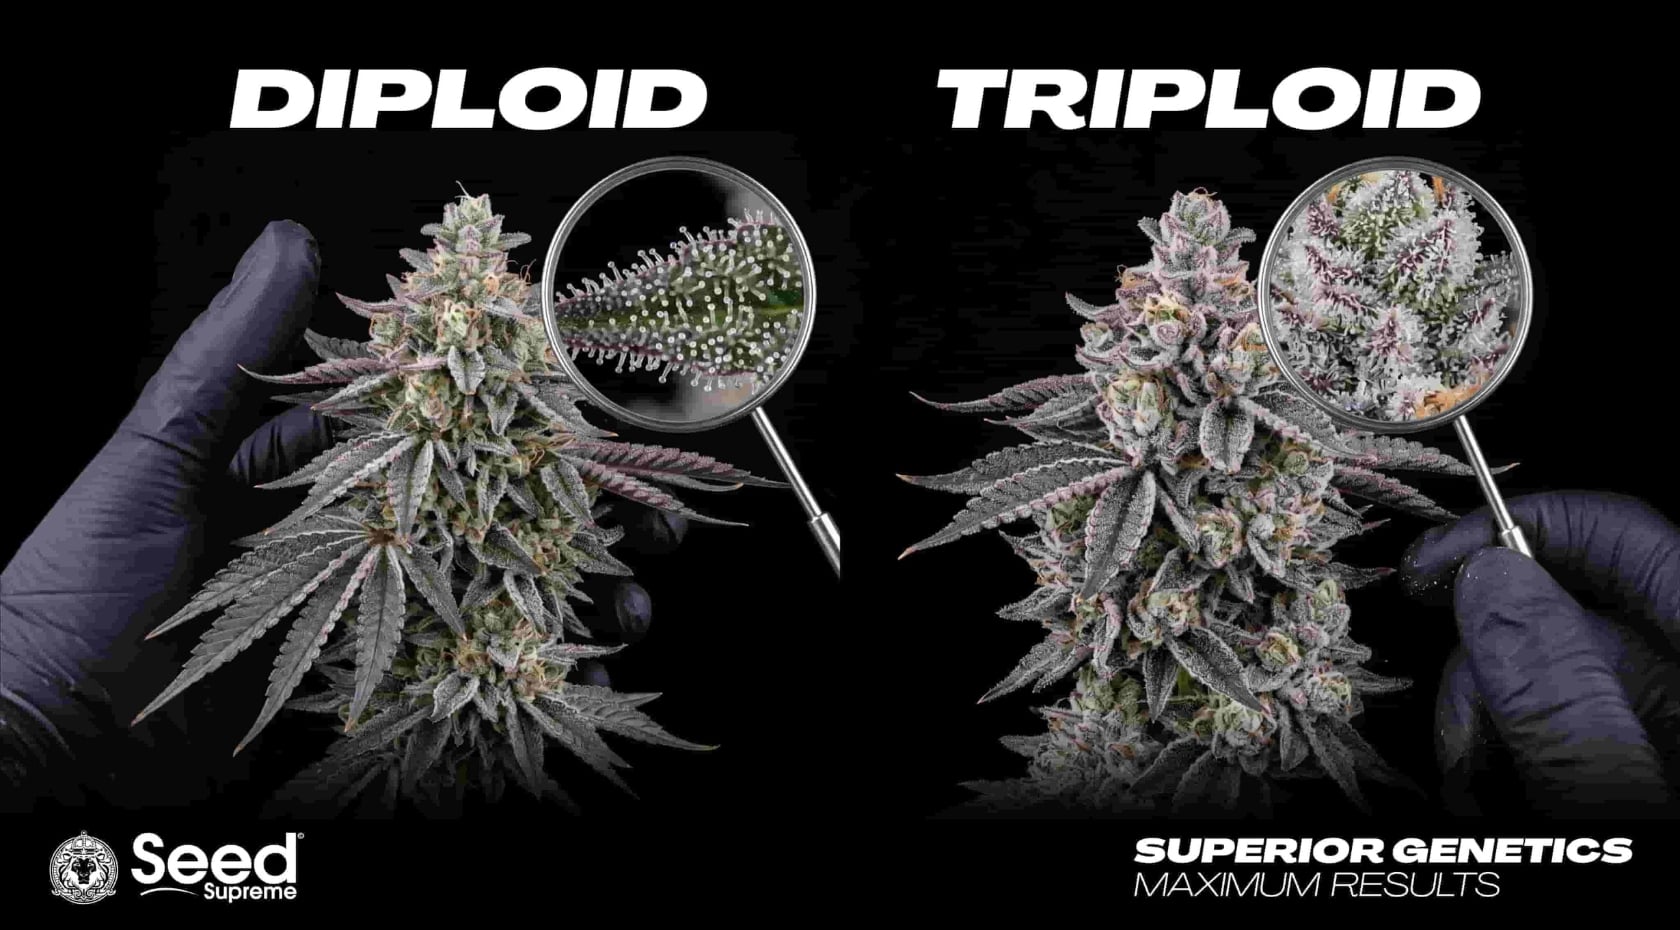
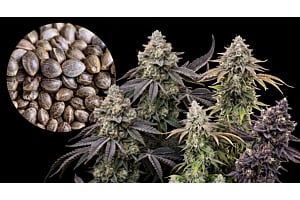
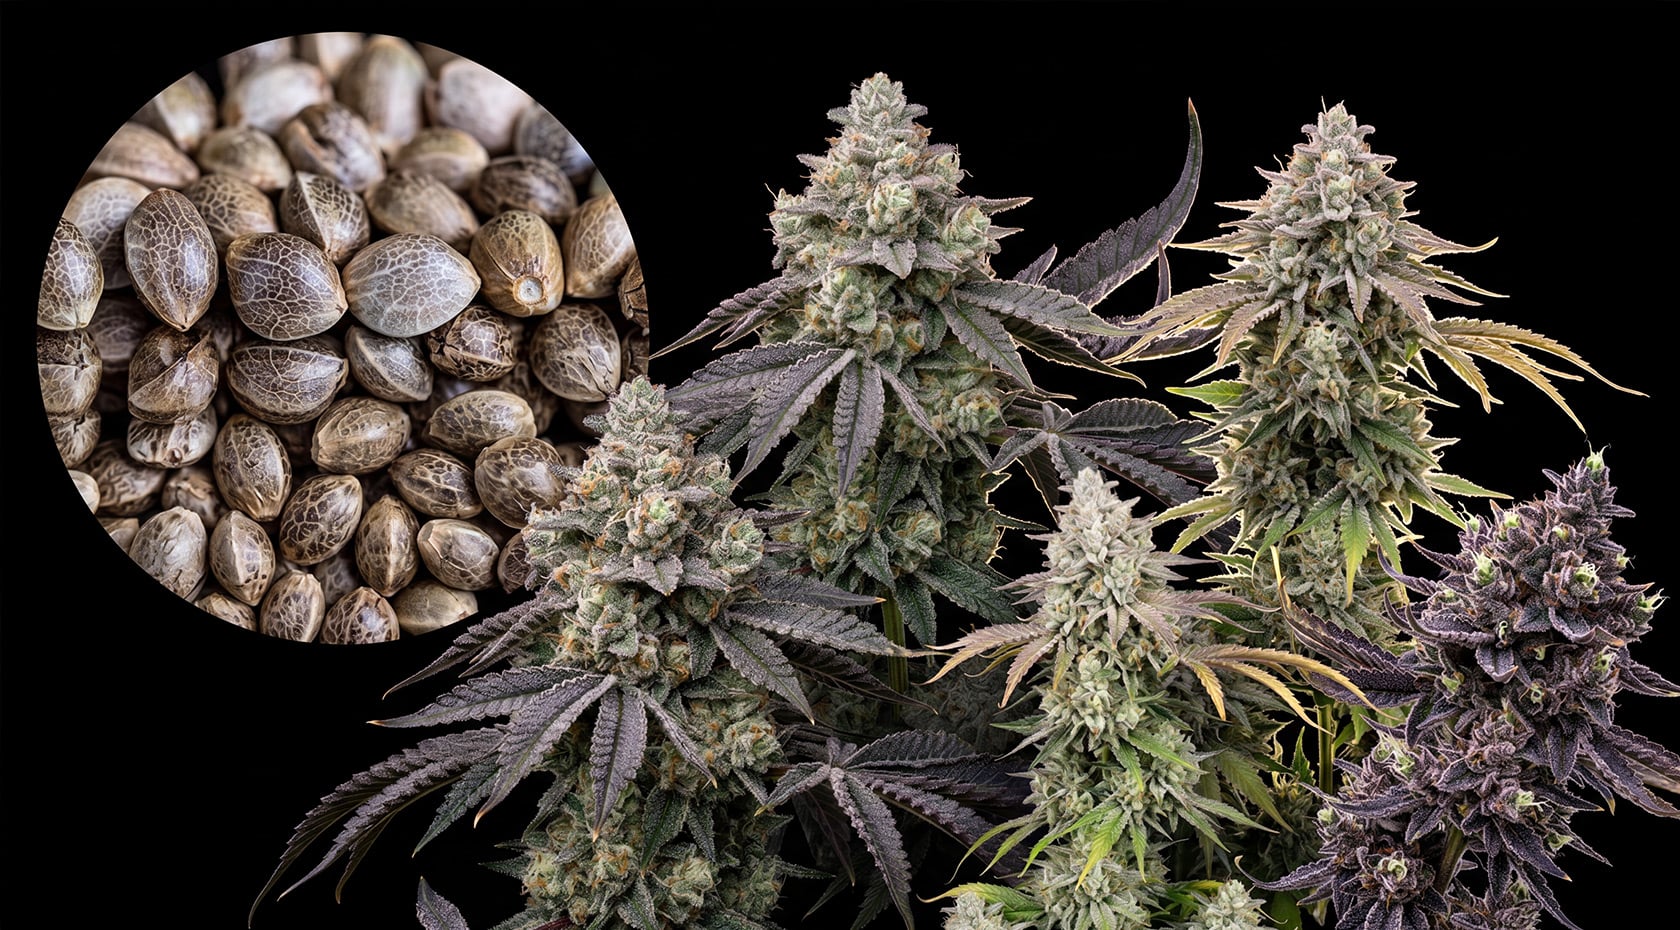
Triploid cannabis carries three sets of chromosomes instead of the usual two, which changes how the plant grows, flowers and produces seeds. Breeders create triploid cannabis seeds by crossing a tetraploid…
Two cannabis plants can start from seeds that look nearly identical and finish months apart, at half the size, with very different harvests. That gap comes down to one trait: photoperiod versus autoflower…
The best outdoor autoflower seeds complete a full cannabis life cycle in as little as 8 weeks, with most varieties finishing in 8-12 weeks, all without waiting for shorter daylight hours to trigger flowering…
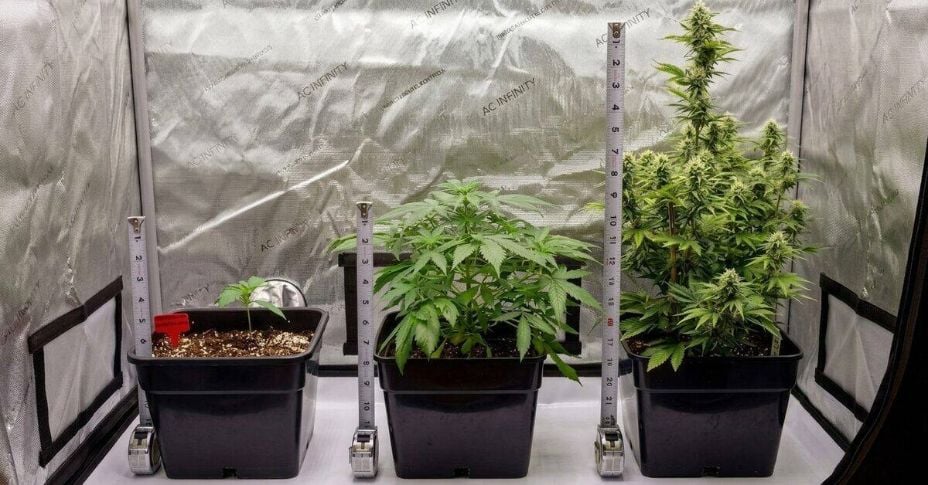
Autoflower week-by-week pictures are the fastest way to check whether your plant is on track, because autoflowers finish from seed to harvest in roughly 7-12 weeks (most strains land at 9-10) and every…
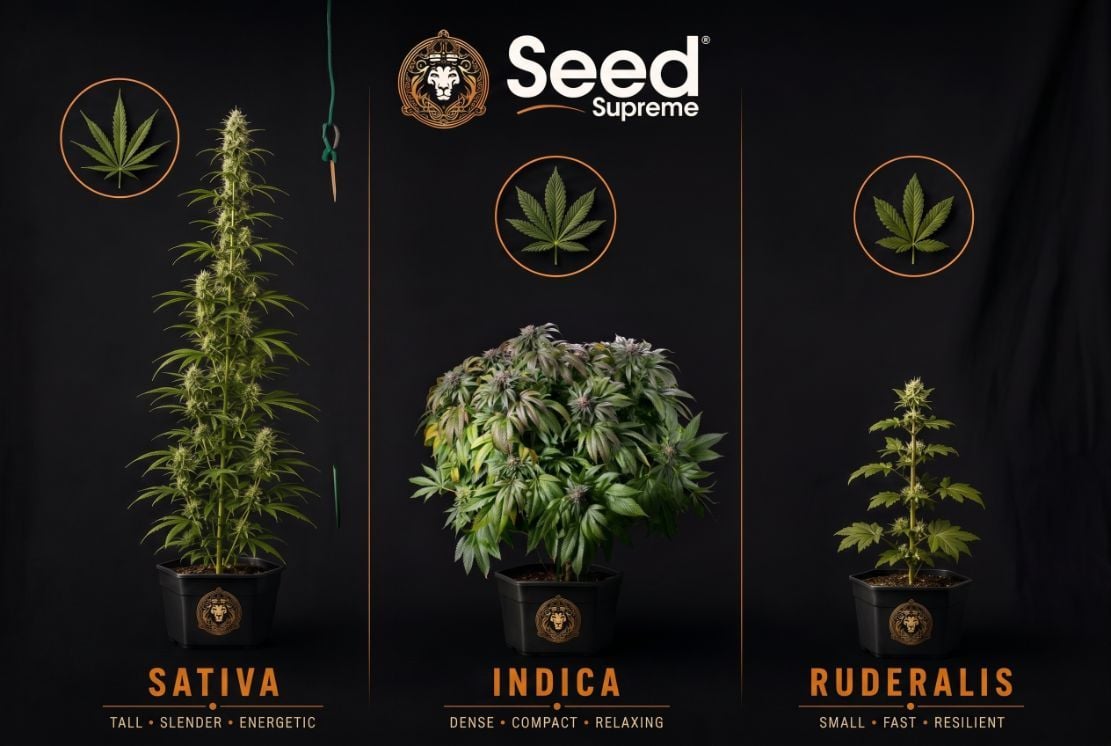
Cannabis ruderalis is the most overlooked of the three cannabis species. Most growers know indica and sativa but skip right past the plant that made autoflowering possible. This guide covers what ruderalis…
A cannabis plant can go from seed to harvest in as little as 60 days. Not 60 days from flowering, not 60 days from a clone, 60 days from the moment the seed cracks. 45-day autoflower seeds are the genetics…
Autoflower light schedules sound complicated, but they're simpler than photoperiod schedules in one big way: you pick one cycle and run it from seed to harvest. No flipping from 18/6 to 12/12, no calendar…
![Is Bong Water Good for Plants? Here's What You Need to Know [Full Guide]](https://seedsupreme.com/media/magefan_blog/bong-water-hero.jpg)
![Male vs. Female Weed Plants: How to Tell the Difference [Full Guide]](https://seedsupreme.com/media/magefan_blog/SS_-_Hero_15_.jpg)
![How to Spot the Early Signs of Male Plants [Cannabis Guide With Pictures]](https://seedsupreme.com/media/magefan_blog/male-cannabis-hero.jpg)